When aeration mixers are taken offline for extended idle periods, improper storage can lead to hidden moisture damage that only becomes visible when you try to restart the unit later. Many facilities skip targeted moisture protection steps during idle storage, and end up dealing with unexpected performance drops, component corrosion, or full system failures that take far more time and labor to fix than a structured storage process would have required.
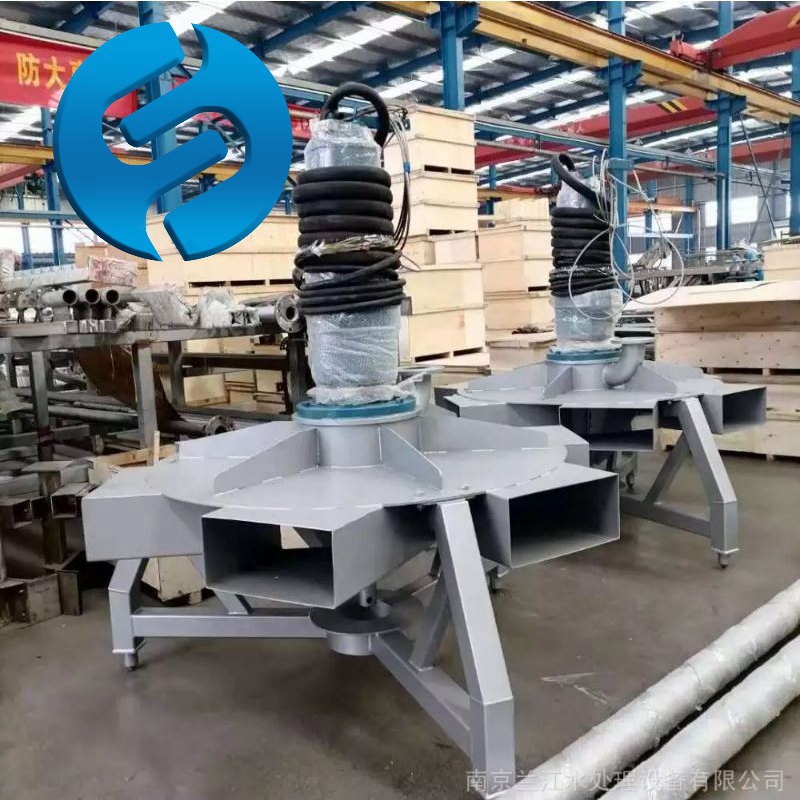
Pre-Storage Surface and Internal System Prep
Before moving the aeration mixer to any idle storage location, complete a full disassembly of all accessible contact surfaces that regularly interact with process fluids. Wipe down every impeller, flow channel, and seal surface to remove all residual sludge, mineral buildup, and leftover process material that can trap moisture against metal parts over weeks or months of inactivity. Any leftover organic residue will hold ambient moisture against the component surface, creating the exact conditions that lead to pitting corrosion even in relatively dry storage spaces.
Hidden Cavity Drying Process
Pay special attention to hollow internal cavities that are not visible during standard surface cleaning. Flush these cavities with a low-pressure stream of dry, filtered air to push out all trapped residual moisture, then leave all access panels and drain ports fully open for 12 to 24 hours in a low-humidity space to let every last trace of moisture evaporate completely. Do not seal these cavities shut immediately after wiping down external surfaces, as trapped hidden moisture will have no way to escape and will slowly degrade internal components from the inside out.
Moving Part Lubrication Adjustment
Apply a thin, even layer of heavy-grade corrosion-inhibiting lubricant to all exposed moving shafts, bearing surfaces, and flange connection points. This layer creates a physical barrier that stops ambient moisture in the storage air from making direct contact with precision machined metal surfaces. Avoid over-applying the lubricant, as excess thick layers can trap dust and small particulate matter that will cause issues when you bring the mixer back online later.
Controlled Storage Environment Setup
Choose a storage location that stays protected from direct exposure to outdoor weather, floor-level moisture seepage, and rapid temperature swings. Place the entire aeration mixer unit on an elevated support frame that lifts it at least a few centimeters above the ground, so no part of the unit makes direct contact with cold concrete that can pull condensation onto metal surfaces during humid seasons. Keep the space well-ventilated on dry days, and seal off incoming moist air during periods of high external humidity to keep ambient moisture levels stable.
Localized Desiccant Placement
Position sealed packets of chemical desiccant inside all enclosed housings, electrical junction boxes, and hollow internal cavities that you dried out during pre-storage prep. Calculate the amount of desiccant based on the total internal volume of each enclosed space, and make sure the packets are secured in a spot where they will not shift around and block small flow ports or sensor openings. Mark the placement locations clearly on a simple maintenance log so your team can check and replace saturated desiccant at regular scheduled intervals.
Routine Environment Check Cadence
Walk through the storage space at consistent weekly intervals to spot early signs of unexpected moisture buildup. Wipe away any visible condensation that forms on external metal surfaces, check that no water has pooled near the base of the support frame, and confirm that ventilation openings are not blocked by dust or stored items stacked nearby. Even small, unnoticed leaks in nearby pipes can create sudden spikes in ambient humidity that undo all your earlier moisture protection work.
Long-Term Idle Period Monitoring and Touch-Up
For storage periods that stretch beyond several months, set a monthly schedule to rotate the mixer’s shaft by hand for several full revolutions. This keeps the thin layer of protective lubricant evenly distributed across all bearing surfaces, and prevents any single section of the metal from sitting pressed against a single point for so long that moisture can seep under the protective layer and create localized rust spots. Do not apply full power to the unit during these checks, as you only need gentle manual movement to redistribute the lubricant evenly.
Electrical Component Moisture Defense
For all motor assemblies, wiring terminals, and sensor components that are part of the mixer system, add a small low-wattage heating element inside their enclosed housings to maintain a slightly higher internal temperature than the surrounding storage air. This small temperature difference stops condensation from forming on sensitive electrical contact points even when the ambient humidity in the storage space fluctuates. If no power source is available at the storage location, seal each electrical enclosure inside a thick, moisture-resistant barrier bag with extra desiccant added inside before you seal the bag shut.
Pre-Restart Validation Steps
Before you take the mixer out of storage to bring it back online, let the entire unit sit in its intended operating space for several hours to equalize to the local ambient temperature. This prevents sudden temperature differences from pulling condensation onto cold metal surfaces the moment you open up sealed enclosures. Wipe away all the protective lubricant from seal surfaces and impeller paths, replace all desiccant packets, and run a full manual inspection for any early signs of hidden corrosion before you connect the unit back to power.
Post time:2026-08-31
