When an aerator mixer shuts down unexpectedly and refuses to restart, many operators immediately assume the entire unit is beyond repair and rush to arrange full disassembly. In most real-world site cases, the root cause is not a catastrophic motor failure, but a small, overlooked issue that stops the whole system from powering back on. Most of these problems can be identified and resolved on site with basic tools, no specialized workshop intervention required.
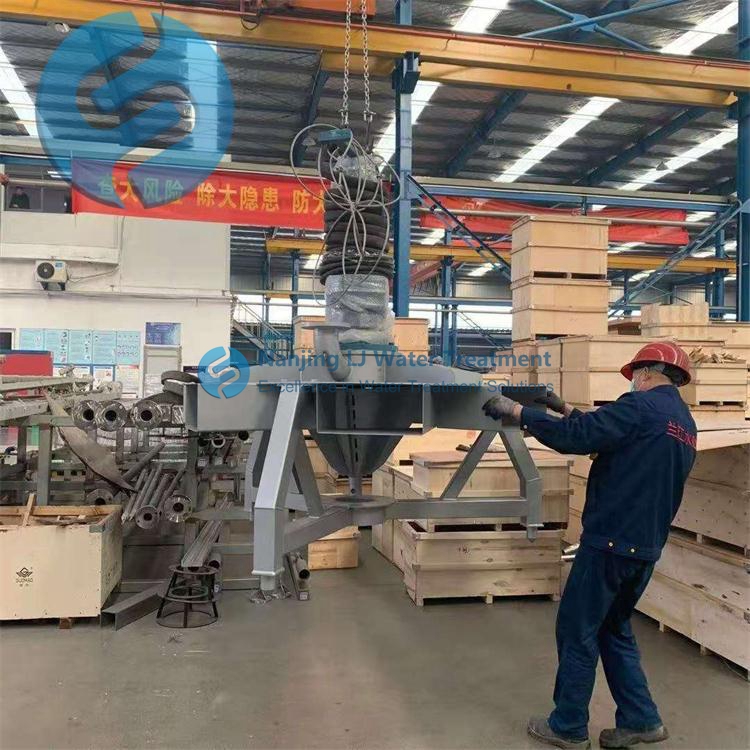
Immediate pre-check before touching any internal components
Before you open any access panel or disconnect wiring, the very first step is to confirm the full power supply chain from the wall outlet to the unit terminal block. A large share of no-restart cases traces back to unstable power input that does not show up as an obvious outage.
Start by testing the wall outlet with another standard electrical device, to rule out tripped building breakers or loose wall wiring that no one has noticed yet.
Check the main power cable running to the aerator mixer, look for cuts, kinks, or exposed insulation that may have triggered an invisible safety cutoff.
Confirm the emergency stop button on the local control panel is not accidentally pressed in. Many teams skip this step and waste hours troubleshooting, when a simple twist to reset the stop button brings the unit back online instantly.
Blockage and mechanical jam inspection
If power supply is fully confirmed to be normal, the next most common cause for a failed restart is hidden mechanical resistance that trips the built-in overload protection the moment you hit the start switch.
Inlet and aeration chamber debris check
Over long running cycles, sediment, fibrous waste, and accumulated sludge can get pulled into the mixing chamber and lock the rotating assembly completely. When you attempt to restart, the motor cannot overcome the unexpected resistance, and the internal protection circuit cuts power immediately to avoid winding damage. You should isolate the unit from all power first, then remove the inlet guard to manually turn the shaft by hand, to feel for any stiff spots or sudden jams.
Drive linkage alignment verification
Even if the main mixing impeller is free, a shifted coupling or misaligned drive belt can create unexpected binding that triggers overload protection on startup. Check all connection points between the motor output shaft and the mixing assembly, to see if any fasteners have loosened and caused partial disengagement that stops smooth rotation.
Electrical system deep diagnosis after mechanical clearance
Once you confirm no part of the rotating system is physically blocked, you can move on to targeted electrical checks that rule out hidden component wear.
Switch and contact continuity testing
Over thousands of start-stop cycles, the internal contacts on the local start button or remote relay can oxidize and lose full conductivity. Even if the button still clicks normally, the current cannot pass through reliably to send power to the motor. Use a standard multimeter to test continuity across the switch terminals when the button is pressed, to confirm a full, stable connection.
Motor winding and protection circuit check
If all previous steps return normal results, the last area to inspect is the motor winding and the built-in thermal protector that trips after overheating. After a long period of high-load operation, the thermal protector may stay open even after the unit cools down, preventing the motor from receiving power on restart. You can test the winding for consistent resistance across all phases, and check for any open circuit in the thermal protection loop that can be reset or replaced on site.
Post time:2026-09-16
