Pre-season commissioning inspections for aeration mixers eliminate hidden risks that accumulate during months of inactivity, ensuring stable performance the moment the unit is reintroduced to water. Many operational disruptions that occur right after seasonal startup stem from overlooked small checks, rather than major mechanical failures that develop during active use. Every step of the process should follow a logical sequence that prioritizes safety first, then moves through system verification before full submersion and load operation.
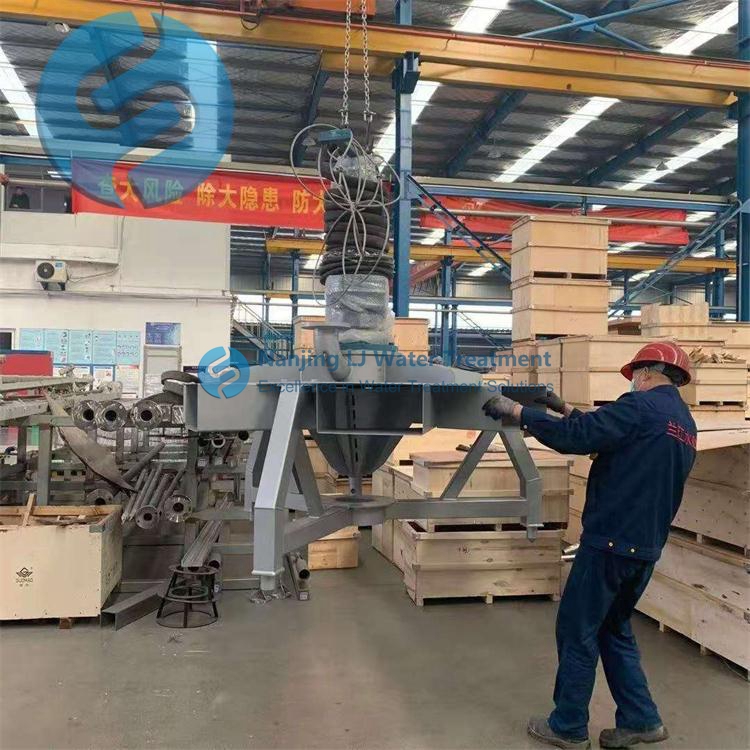
Pre-connection visual and environmental verification
Walk through the entire installation area first to confirm no debris, fallen branches, or accumulated sediment has blocked the mixer’s intended mounting position or surrounding water flow path. Check all exposed structural frames, mounting brackets, and lifting points for signs of rust, loose fasteners, or minor deformation that may have developed during off-season storage. Confirm the water body’s baseline water level, temperature, and preliminary dissolved oxygen reading are within the operational range that matches the mixer’s design specifications. Inspect all surrounding safety barriers, access platforms, and warning markers to make sure they remain intact and positioned correctly before any electrical power is connected to the system.
Dry pre-operation functional testing
Complete all checks on land before lowering the mixer into water, to catch electrical and mechanical issues without the added complexity of submerged troubleshooting. Manually rotate the main shaft through several full revolutions to confirm no seizing, unusual resistance, or unexpected grinding sounds come from the gear assembly or bearing housing. Connect the power supply temporarily and run the mixer at low speed for no less than two minutes, monitoring for abnormal vibration, overheating on the motor surface, or irregular current draw that falls outside normal operational limits. Test all interlock switches, emergency stop triggers, and remote signal feedback points to confirm every safety protection mechanism activates as designed, without delay or false triggering.
Submerged component and seal integrity inspection
Lower the mixer slowly into the water to the exact operational depth specified for the current season’s process requirements, pausing at intermediate points to check for snags on submerged obstacles. Observe the area around all shaft seals and flange connection points for any visible air bubbles that indicate a compromised seal or unintended water leakage into internal cavities. Run the aeration system at half its rated output for 10 minutes, then check the distribution of fine bubbles across the entire coverage area to confirm no individual diffusion ports remain blocked by leftover sediment or storage residue. Verify the mixer’s mounting alignment stays stable under water, with no unexpected shifting or tilting that could disrupt the intended mixing flow pattern.
Process parameter calibration and fine-tuning
Adjust the mixer’s rotational speed and air supply volume gradually to match the current seasonal water quality conditions, rather than directly applying last season’s unmodified settings. Take dissolved oxygen readings at multiple points across the mixer’s full coverage radius to confirm even distribution, with no dead zones where oxygen levels fall far below the target process value. Monitor the motor’s operating current, winding temperature, and vibration levels under full continuous load for at least one hour, recording all data to establish a new baseline for the current operational cycle. Cross-reference the mixer’s actual power consumption and mixing efficiency with the current season’s hydraulic load, making small incremental adjustments to optimize performance for the specific water temperature, organic load, and depth conditions present at the time of startup.
Post-commissioning initial operation monitoring
Keep a dedicated inspection schedule for the first 72 hours after full startup, checking key operational parameters at two-hour intervals to catch any gradual issues that do not appear during short test runs. Document any minor fluctuations in current, vibration, or dissolved oxygen output, and address small deviations immediately before they develop into larger operational faults. Confirm all remote monitoring signals transmit accurate, real-time data back to the central control system, so operators can track performance without repeated on-site manual checks. Remove any temporary test tools, unused cables, and leftover inspection materials from the tank area to eliminate tripping hazards and prevent foreign objects from accidentally falling into the water flow path during normal operation.
Post time:2026-08-18
