Proper long-term storage care for aeration mixers directly prevents unnecessary component degradation that often leads to unexpected failures when the unit is restarted after weeks or months of inactivity. Many facilities overlook small, critical steps during shutdown, which can turn a temporary pause in operation into costly repairs and extended downtime later on. Every part of the system, from submerged mixing components to above-water power connections, requires targeted attention before the unit is set aside for extended periods.
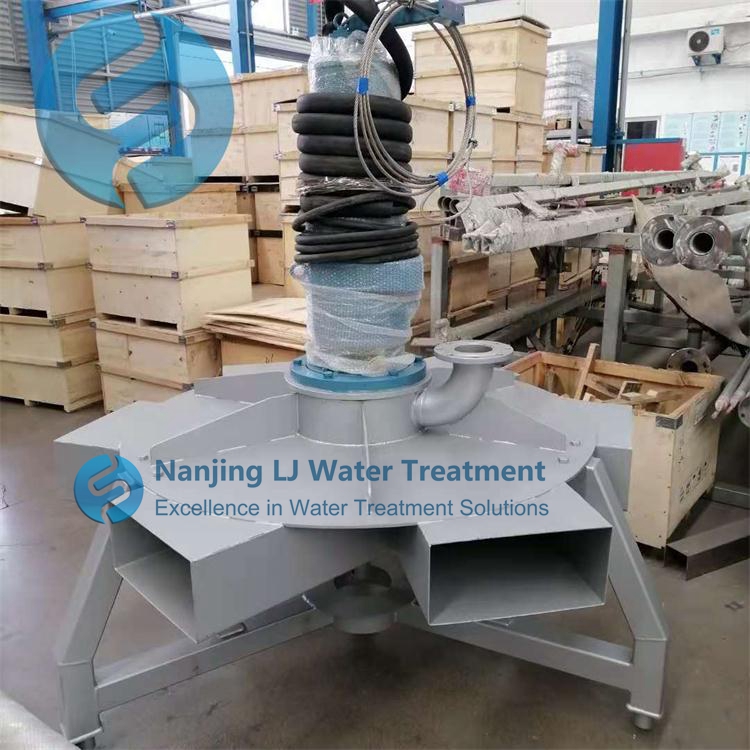
Thorough internal and external flushing procedures
All residual sludge, organic buildup, and mineral deposits must be fully removed from every wetted surface before storage begins. Start by circulating clean, temperature-controlled water through the entire aeration path for no less than 30 minutes to dislodge loose particles trapped around mixing blades and air diffusion ports. For areas with hardened sediment, use non-abrasive, food-safe cleaning solutions that break down organic matter without scratching metal surfaces or damaging seal materials. After flushing, run a low-volume, food-grade sanitizing solution through the system to eliminate residual bacteria that could cause corrosion or unpleasant odors during storage. Pay special attention to gaps around shaft seals, joint flanges, and internal flow passages where trapped debris often goes unnoticed.
Draining and moisture elimination protocols
Every drop of standing water must be removed from the mixer’s internal cavities, hoses, and connection points to prevent freezing damage, microbial growth, and rust formation over time. Open all drain ports at the lowest points of the system and allow gravity to pull out all remaining liquid, then use low-pressure, dry compressed air to blow through every channel to clear out trapped moisture that does not drain naturally. Detach all flexible hoses and lay them flat in a well-ventilated area to air dry completely before coiling them for storage. Check hidden spaces inside the motor housing and gear assembly to confirm no condensation has collected there, as even small amounts of trapped moisture can damage winding insulation and cause bearing pitting.
Component disassembly and corrosion protection
Separate all removable attachments from the main mixer body to eliminate long-term mechanical stress on connection points and make full inspection easier. Coat all exposed metal shafts, threaded fasteners, and machined surfaces with a thin layer of corrosion-inhibiting lubricant designed for extended idle periods, taking care to keep the substance away from rubber seals and air diffusion openings. Wrap each detached part in breathable, moisture-resistant material that blocks dust and debris without trapping condensation against the surface. Inspect all seal rings and gaskets for minor cracking or permanent deformation, and replace any that show signs of wear before storage so they do not stick or fail when the unit is brought back online.
Electrical system safeguarding steps
Disconnect all power supply connections at the main circuit breaker and not just at the mixer end to eliminate any risk of accidental power flow during the shutdown period. Inspect every power cable for cuts, fraying, or cracked outer insulation, and wipe down the entire cable length with a dry, lint-free cloth to remove accumulated dirt and moisture. Retract or neatly coil cables in loops no smaller than the manufacturer’s recommended minimum bend radius, and hang them on wall-mounted hooks in a dry, shaded area to keep them off cold, damp floors. Place a desiccant pack inside every electrical junction box and terminal enclosure to absorb ambient moisture, and seal all enclosure latches tightly to block dust, insects, and small debris from entering.
Ideal storage environment setup
Position the entire assembled and disassembled mixer components in a dry, temperature-stable space that avoids direct sunlight, extreme temperature swings, and exposure to harsh chemical fumes. Keep all units elevated at least a few inches off the floor to prevent contact with pooled water, dust, and potential pest activity that can damage base plates and lower components. Maintain consistent ambient humidity levels below 60 percent to slow down oxidation and prevent mold growth on stored parts. Avoid placing heavy items on top of any part of the mixer, as excess weight can bend mixing blades, warp mounting frames, and misalign internal transmission parts over long storage periods.
Periodic idle maintenance checks
Even when the mixer remains fully shut down, schedule short, monthly walkthrough inspections to confirm the storage environment stays within acceptable conditions and no unexpected issues have developed. Check all wrapped components for signs of moisture buildup, remove any accumulated dust from outer surfaces, and verify that desiccant packs in electrical enclosures have not become saturated. Once every three months, manually rotate the mixer shaft by hand for several full revolutions to redistribute lubricant inside bearings and gear assemblies, preventing long-term static wear that can cause parts to seize up. Document every inspection in a simple log so facility teams can track storage conditions and spot any gradual changes before they lead to permanent damage.
Post time:2026-08-18
