Start with a full, sequential inspection of all rotating and mating mechanical components before making any major adjustments to the system. Begin by isolating the sound source, distinguishing between sharp, high-frequency noises tied to metal-on-metal contact and lower, rumbling vibrations that signal imbalance or misalignment. Many unusual operating sounds do not come from obvious broken parts, but from small shifts in alignment, accumulated fine debris in bearing assemblies, or slight wear on connection points that have developed slowly over hundreds of hours of continuous runtime. Document the exact conditions under which the noise appears, including load level, water depth, and recent maintenance actions, to narrow down the root cause without unnecessary disassembly.
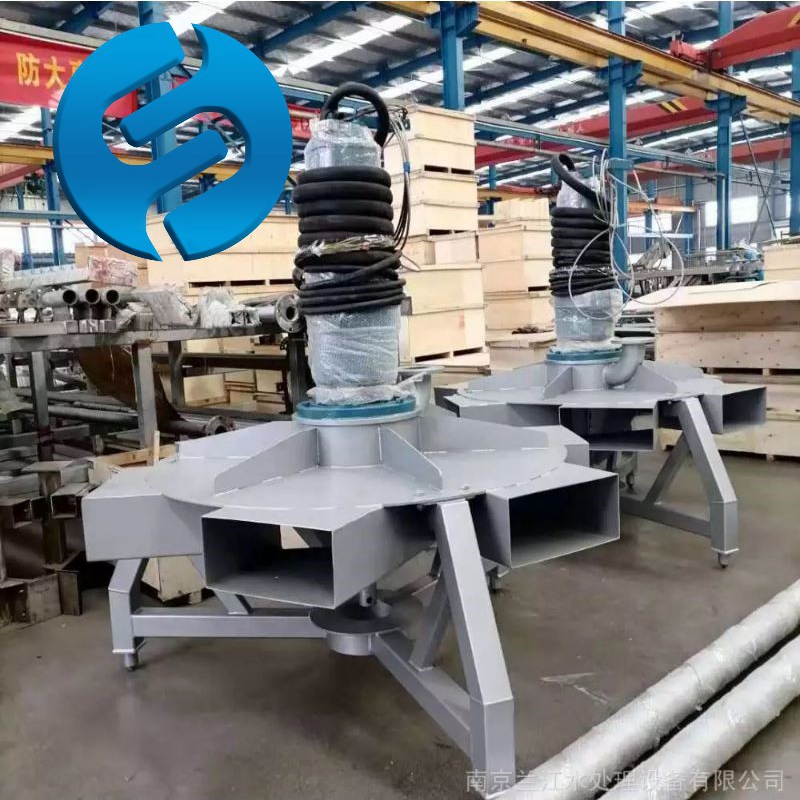
Check for submerged flow interference that creates unexpected vibration transmitted back to the main drive assembly.
Inspect the area around the mixing impeller for tangled fibrous material, trapped hard debris, or uneven sediment buildup that disrupts the smooth rotation of the blades.
Even a small, unevenly distributed mass caught on one section of the impeller will create consistent out-of-balance movement that resonates up the entire shaft, producing a distinct rhythmic hum or knocking sound that changes in intensity as rotational speed shifts.
Also check for warped or shifted nearby structural elements that create turbulent, uneven flow patterns around the impeller, adding extra variable load that generates noise even when all dry-side mechanical parts are in good condition.
Evaluate drive side mounting and vibration transfer paths that amplify minor normal movement into noticeable abnormal noise.
Check all mounting points, base connections, and support structures for loose fasteners, shifted shims, or degraded damping elements that no longer absorb routine operating vibration.
When these components lose their original stabilizing performance, even small, normal operational movements get amplified into loud, distinct rattles or resonant hums that can be mistaken for internal component failure.
Compare current mounting tightness and alignment against the baseline records taken during initial commissioning, to spot subtle shifts that developed gradually and were not caught during standard routine checks.
Run a staged validation test after addressing the identified noise source to confirm full resolution.
Reassemble all inspected components, reset alignment and mounting tension to match original operational specifications, and start the unit at low speed before gradually ramping up to full normal operating load.
Listen for any remaining unusual sound across every speed and load stage, and cross-check vibration readings against the baseline reference values logged when the unit was running correctly.
This step ensures the fault is fully resolved, rather than temporarily masked, and prevents the same abnormal noise from reappearing after only a short period of resumed operation.
Post time:2026-09-05
