Initial on-site visual and basic system checks help you rule out the most common, easily resolved causes before moving deeper into complex disassembly work. Many no-bubble issues stem from simple, overlooked adjustments that do not require specialized tools to identify, so starting here saves significant troubleshooting time.
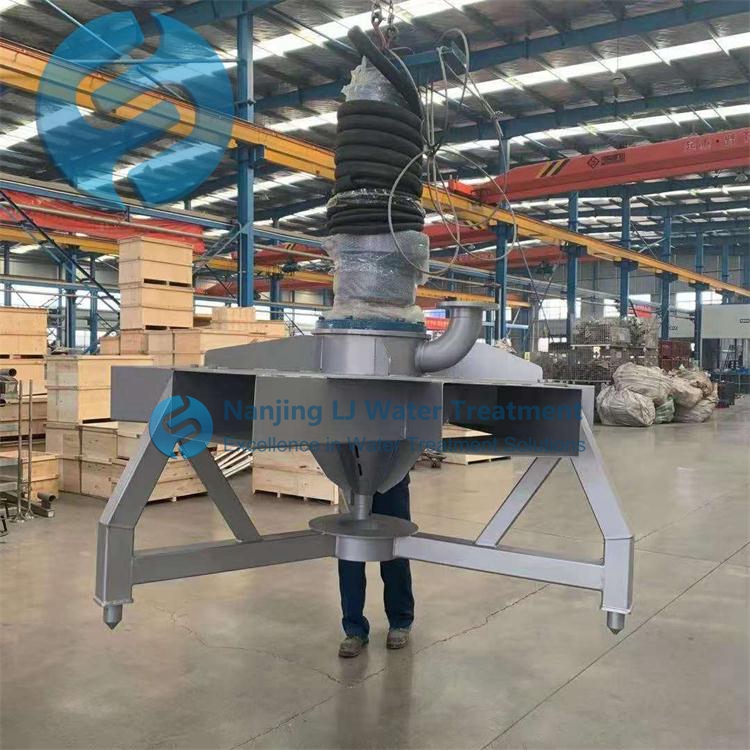
Air supply path blockage inspection
Start at the upstream air intake point and trace the full air delivery path downstream, checking for any closed valves, blocked intake filters, or accumulated debris that cuts off airflow before it reaches the mixer unit. Clear any visible obstructions in the air line, and confirm that no residual water or condensed moisture has pooled in low sections of the piping to create an air lock that stops continuous flow.
Power and drive system basic verification
Check that the main power supply to the mixer and associated air handling equipment is fully connected, with no tripped circuit breakers or triggered safety interlocks that shut down normal operation. Manually rotate the mixer shaft a few full turns to confirm no internal jamming from settled sludge or displaced components is preventing the impeller from turning and generating the required bubble flow.
Mid-stage pressure and flow performance testing narrows down issues that are not visible through basic visual checks, by measuring system behavior under active operating conditions.
Operating pressure differential measurement
Install a temporary pressure gauge at the inlet of the aeration mixer and compare the reading against the system’s normal baseline value. If the inlet pressure reads far higher than the standard operating range, it signals a downstream blockage that stops air from exiting through the bubble generation structure. If the pressure reads far lower than expected, it points to a large air leak somewhere in the upstream piping that prevents sufficient air from reaching the mixer head.
Bubble generation component partial disassembly check
Isolate the unit from power and air supply first, then carefully remove the outer protective cover of the bubble generation assembly to inspect for caked sludge, hardened mineral deposits, or tangled fibrous debris that completely covers the air outlet openings. Gently clear away accumulated material without damaging the precision flow structure, and confirm that every small air passage is fully open before reassembling the unit.
Deep system calibration and post-recovery validation confirms the root cause is fully resolved and prevents the same no-bubble fault from reoccurring shortly after the unit is restarted.
Full system staged restart test
Restore power and air supply to the unit gradually, starting at the lowest airflow and speed setting before slowly ramping up to standard operating parameters. Observe the tank surface closely to confirm uniform bubble distribution across the full coverage area, with no dead zones that remain completely free of rising bubbles.
Long-term performance stability check
Let the system run continuously for no less than one hour after the fault is cleared, and monitor dissolved oxygen readings, motor current draw, and air line pressure over the full test period. Confirm that all metrics stay within the normal operating range, and that no gradual drop in bubble output appears as the system reaches steady thermal and hydraulic conditions.
Post time:2026-09-04
