Pre-commissioning safety and visual checks form the critical first phase before you initiate any post-maintenance test run for an aeration mixer. Every team member on site should confirm that all access panels, inspection hatches, and maintenance openings are fully secured, and that no leftover tools, loose hardware, or cleaning materials remain inside the tank or around the equipment base. All power connections, sensor lines, and air supply piping joints that were disconnected or adjusted during servicing should be reconnected and manually inspected for tight, secure seating, with no exposed wiring or unmarked loose ends left near moving components. You should also confirm that all lockout-tagout procedures applied during the maintenance phase have been formally cleared by the lead technician, so no unexpected re-energization risks remain before the system is allowed to start.
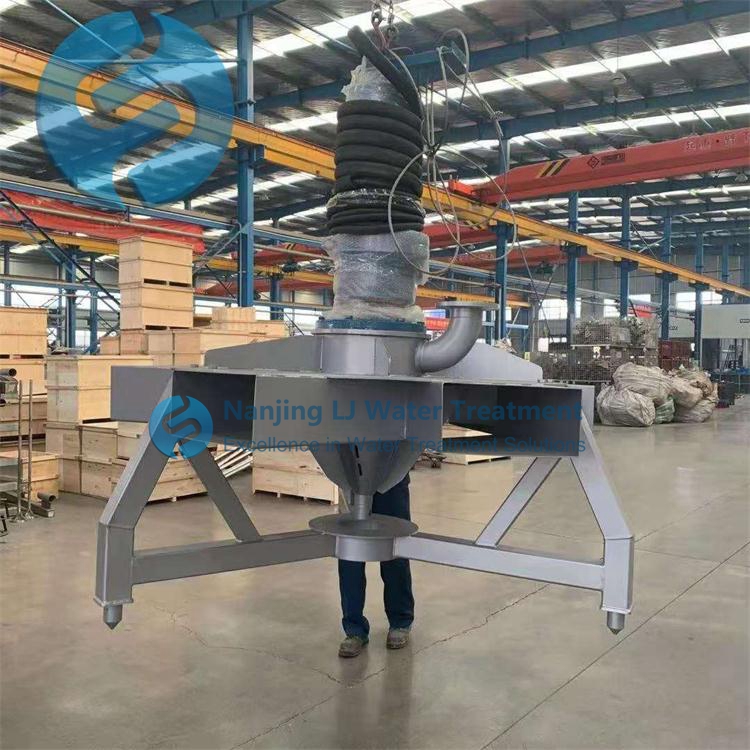
Preliminary low-load system verification runs before full operational activation help catch minor alignment issues that could escalate into larger damage during full-speed operation.
Mechanical alignment and idle rotation check
Disconnect the main power drive coupling first, then manually rotate the mixer shaft by several full revolutions to confirm there is no binding, scraping, or unexpected resistance that signals misaligned bearings or displaced impeller parts. Once this step passes, restore the coupling connection and run the system at reduced power for no less than 5 minutes, observing the shaft seal area, mounting base, and drive housing for unusual heat buildup or abnormal noise that was not present before the maintenance work.
Air supply and flow path pre-adjustment
Open the main air supply valve gradually to introduce low-pressure airflow through the entire aeration network, and check every joint, weld, and connection point for air leakage that could reduce system efficiency during full operation. Confirm that the airflow distribution across all outlet points is roughly balanced, and clear any residual debris that may have entered the piping during the maintenance disassembly process before moving to higher flow settings.
Gradual staged load escalation and performance monitoring moves the system from idle state to full design operating conditions in controlled, observable increments. Start the mixer at the lowest operational speed and airflow setting, and let it run for 15 to 20 minutes while tracking vibration levels at the motor, gearbox, and mounting flange. Slowly increase speed and airflow to the first intermediate stage, hold that setting for another 30 minutes, and check for any unexpected shifts in current draw, seal performance, or bubble distribution across the tank surface. Once all intermediate stages show stable readings, bring the system up to full design operating parameters, and maintain that state for a minimum of two continuous hours to confirm no performance drift or component failure appears under sustained working load.
Post-test run documentation and handover checks lock in the data from the trial operation and prepare the unit for regular service. Record all observed vibration values, operating current readings, airflow pressure metrics, and any minor adjustments made during the test run in the equipment’s permanent service log, so future maintenance teams have a clear baseline to reference during subsequent inspections. Walk through the full system once more to confirm no new leaks, loose fasteners, or abnormal wear patterns emerged during the extended full-load run, and confirm that all safety interlocks, pressure relief mechanisms, and emergency stop functions respond correctly when triggered. Only after every one of these checks returns a passing result can the unit be formally signed off and released back into standard operational service.
Post time:2026-09-04
