Before you begin any cleaning work on the aeration mixer impeller, you must follow full site lockout-tagout procedures to isolate all power supplies and confirm no unexpected startup can occur during the process. If the unit is installed in an active aquaculture pond or biological reactor, make sure you have secured all required confined space or overhead lifting permits, and wear appropriate personal protective equipment including waterproof gloves, non-slip boots and eye protection to avoid direct contact with residual sludge, biofilm or process chemicals. Document the impeller’s original rotational alignment, mounting bolt positions and clearance settings before disassembly, so you can reassemble everything back to factory specifications without unintended performance drift later.
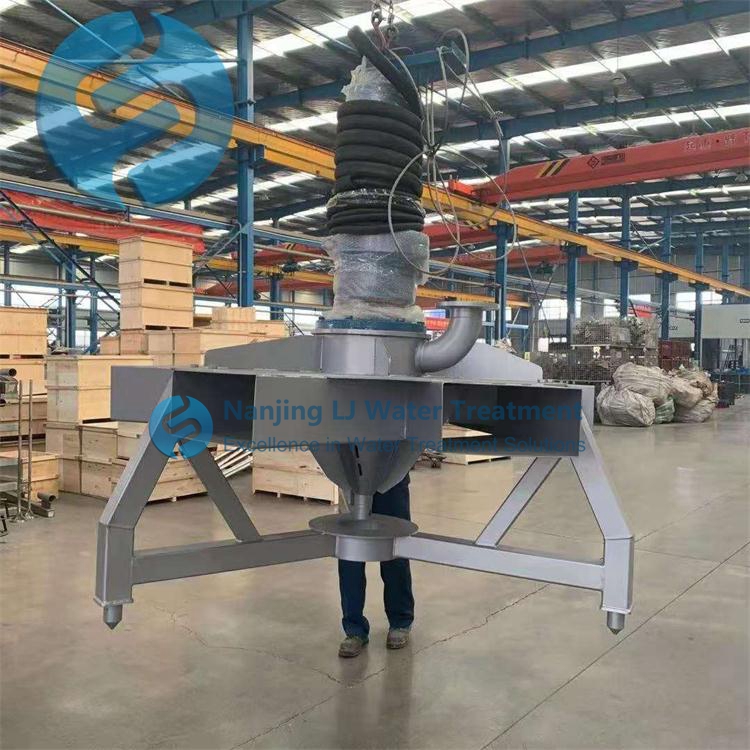
Initial on-site pre-cleaning and debris removal
Start the process by flushing the entire impeller assembly with low-pressure clean water while the unit is still partially secured in its mounting frame, to wash away loose algae, floating organic debris and surface sludge before you handle any components directly. Use a stiff non-metallic bristle brush to scrub away thick, soft biofilm layers that cling to the impeller blade surfaces, taking extra care to dislodge fibrous rags, stringy plant roots and plastic fragments that have wrapped around the hub and become trapped between individual blades. Do not use sharp metal scrapers at this stage, as these tools can easily scratch the polished hydraulic surfaces and create tiny rough spots that will accumulate new debris much faster after the unit is put back into operation. Once all loose surface material is removed, you can safely detach the impeller from the shaft and move it to a dedicated flat work surface for deeper cleaning.
Targeted soaking for mineral scale and hardened deposits
Prepare a temperature-controlled soaking bath with a neutral, non-corrosive cleaning solution formulated to break down calcium deposits, mineral scale and hardened sludge without attacking the impeller’s base material. Fully submerge the impeller assembly and leave it to soak for a period calibrated to the thickness of the accumulated buildup, checking at 15-minute intervals to monitor how quickly the hard deposits begin to loosen. For stubborn, caked-on material that does not lift after the initial soak, use a soft nylon scrub pad to work the solution into every crevice along the blade edges, the backside of the impeller and the inner hub opening where most hidden mineral buildup tends to collect. Rinse the entire assembly repeatedly with clean, room temperature water once all visible deposits are gone, making sure no residual cleaning solution remains trapped in small gaps or threaded mounting holes.
Detailed post-cleaning inspection and reassembly
After rinsing, use compressed low-pressure air to blow away all remaining water droplets from every surface of the impeller, paying special attention to the small balance holes, keyway slots and the area where the impeller mates to the drive shaft. Inspect each blade edge and surface under bright light to confirm there are no leftover mineral particles, deep scratches or hidden corrosion spots that could disrupt hydraulic balance once the unit is back in service. Apply a thin, even layer of food-grade anti-seize compound to the shaft mounting threads and contact surfaces before you slide the impeller back into its original recorded position, then tighten all fasteners in a gradual, cross-torque sequence to avoid pulling the assembly out of alignment. Once reassembly is complete, manually spin the impeller by hand to confirm it rotates freely with no binding, unexpected drag or uneven movement before you re-engage power and run a full low-load test cycle.
Post time:2026-11-16
