Maintenance Tips for Waterproof Sections of Aerator Mixer Motors
Before you carry out any inspection or maintenance work on the motor, always cut off the full power supply from the main distribution panel and confirm there is no residual voltage with a professional testing tool. Let the motor rest for at least 40 minutes after it stops running, so all internal components can cool down to ambient temperature before you touch any waterproof seals or connection parts. Wear dry insulated work gloves and keep all maintenance tools placed on a dry non-conductive mat to avoid accidental contact with moisture that might cause safety risks.
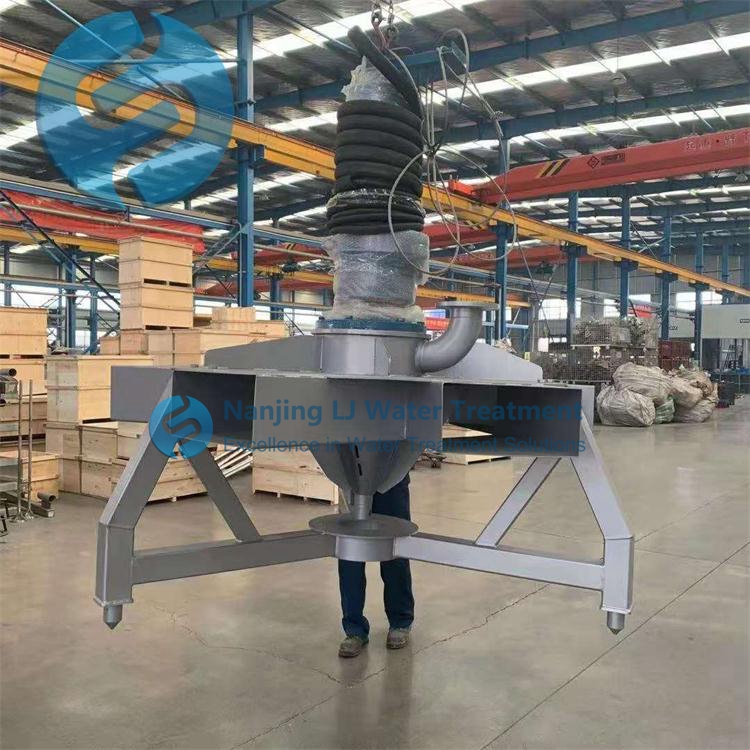
Routine Visual Checks for Exterior Waterproof Structures
Walk around the whole motor housing at least once every two weeks, and look closely for tiny cracks, peeling paint or faint traces of water seepage on the outer surface. Pay extra attention to the seam lines where different housing sections meet, as these spots are the most likely places for moisture to sneak in after long term vibration. Wipe away all accumulated dust, sludge and dried water splashes on the outer shell with a soft dry cloth, because thick layers of dirt can trap moisture against the surface and speed up wear of the outer waterproof coating.
Seal Edge Inspection for Shaft Penetration Points
Focus on the circular waterproof ring that sits right where the rotating shaft sticks out of the motor housing, as this part bears constant friction every time the equipment runs. Run your finger gently along the edge of the seal to feel for tiny cracks, hardened brittle spots or thin gaps that might let water droplets pass through. If you find a small amount of slimy black residue oozing out from the seal gap, wipe it away and mark the spot for more frequent follow-up checks, since this is an early sign that the seal is starting to lose its tight fit.
Cable Entry Point Waterproof Verification
Check the fixed connection spot where the power cable goes into the motor housing, to make sure the surrounding sealing compound has no gaps, shrinkage or peeling away from the cable surface. Pull the cable slightly with gentle force to confirm it does not shift inside the entry port, because loose movement will create small openings that let humid air and water splash get inside. Clear away any standing water that pools around the cable entry base after heavy rain or tank splashing, so no water sits against the seal for hours on end.
Regular Deep Care for Internal Waterproof Components
Every three months when you schedule a full equipment check, open the terminal box cover slowly and inspect all the waterproof gaskets inside for signs of aging or deformation. Wipe the inner walls of the terminal box with a lint-free dry cloth to remove any condensed moisture that builds up from temperature differences between day and night. Make sure every wiring connection is tight and no bare copper strands stick out past the insulation layer, to avoid short circuit risks even if tiny amounts of moisture find their way into the box.
Condensation Drain Path Upkeep
Locate the small hidden drain holes on the lower part of the motor housing, and use a thin soft non-metallic stick to clear away any dust or sludge that clogs the openings. These holes are designed to let any condensed water that forms inside the motor flow out naturally, so blocked paths will trap moisture inside and damage internal winding insulation. Check these drain paths after every big temperature swing, especially in humid seasons, to make sure no standing water gets locked inside the sealed motor cavity.
Gasket and Sealing Surface Care
When you take apart any sealed motor cover for inspection, never scratch the flat contact surface between the cover and the housing with hard tools. Wipe the old gasket gently with a clean cloth to remove any leftover debris, and make sure no tiny sand grains get caught between the two contact surfaces when you put the cover back in place. Tighten all the mounting screws on the cover in a diagonal sequence with even force, so the pressure on the whole gasket is distributed evenly and no weak spots form that could leak water later.
Operational Habits to Extend Waterproof Service Life
Avoid spraying high pressure water directly at the motor surface when you clean the surrounding mixing tank area, as strong water jets can push moisture past the seals that are only designed to resist normal splashes. Keep the area around the motor base well ventilated, and clear away any overgrown weeds or piled wet debris that might block air flow around the housing. If the aerator mixer has to sit idle for more than two weeks, run the motor for 10 minutes every 3 days to generate a small amount of internal heat that drives away any trapped humid air inside the sealed cavity.
Post-abnormal Condition Check
After the equipment runs through a heavy flood event or a long period of continuous splashing, do a full check of all waterproof sections even if no obvious fault shows up. Feel the outer surface of the motor housing after a 30 minute test run, and watch for any faint traces of water seepage that might only appear after the internal components warm up. If you notice the motor shows slight signs of current fluctuation that did not exist before, pause operation right away and check all waterproof spots for hidden moisture intrusion before you restart the equipment.
Seasonal Adjustment for Humid Environments
In high humidity rainy seasons, add extra dry desiccant packs inside the terminal box if the space allows, to absorb excess moisture that seeps into the small enclosed space. Wipe all exposed waterproof sealing surfaces once a week to remove the thin layer of damp salt or mineral buildup left by evaporated tank water, which can slowly eat away at the seal material over months of exposure. Check the tightness of all seal mounting screws once before the rainy season starts, to make sure no loose connections create new gaps for rain water to get inside.
Post time:2026-08-16
