Excessive unit vibration on an aeration mixer does not only create noticeable noise. It also accelerates bearing wear, loosens connection points, disturbs stable airflow patterns, and can eventually lead to unexpected downtime that interrupts your entire water treatment or mixing process. Many operators treat vibration as a normal side effect of running heavy equipment, but almost all severe vibration issues can be traced to specific, correctable mechanical and operational root causes.
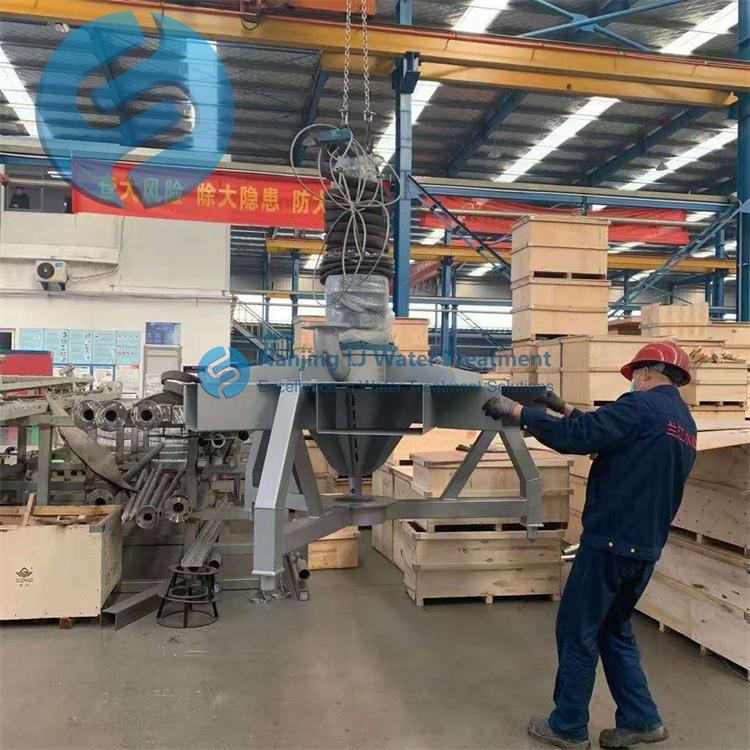
Common sources of abnormal vibration in aeration mixer units
Most vibration problems do not appear suddenly. They build up slowly through weeks or months of continuous operation, or show up immediately after installation, maintenance, or system modification.
Loosened mounting and base connection points
Continuous cyclic operation, thermal expansion, and minor structural shifts over time can gradually loosen mounting bolts, connection flanges, and support frame fasteners. Once these points no longer hold rigidly, even small normal mechanical movements are amplified into large, visible vibration that spreads across the whole unit. The base that was once firmly anchored to the floor or tank rim begins to shift slightly, and this movement creates a feedback loop that makes vibration worse during every operating cycle.
Misaligned transmission and rotating components
Even a tiny angular or parallel misalignment between motor output and driven shaft will generate periodic force pulses that excite strong vibration at specific operating frequencies. Over time, this misalignment wears down bearing surfaces, distorts seal geometry, and creates additional imbalance that makes the vibration amplitude rise steadily. In many cases, the problem does not come from damaged parts themselves, but from small alignment shifts that were never corrected after a previous maintenance or relocation.
Unbalanced load from internal flow and material buildup
Solid sediment, biological slime, or mineral scale can accumulate unevenly on rotating blades, air distribution paths, and internal flow guidance surfaces. This uneven mass distribution creates a centrifugal imbalance that becomes much more noticeable as operating speed increases. The vibration may feel mild at low speed, but it quickly becomes severe once the unit reaches its normal working rotation range.
Step-by-step field correction workflow
You do not need full system disassembly to resolve most excessive vibration cases. Work through checks from the outer structure inward, so you can rule out simple issues before touching precision internal components.
Re-torque and re-secure all connection points
Start the inspection by checking every visible bolt, bracket, and mounting fastener across the motor, gearbox, support frame, and tank connection. Follow a logical sequence to apply proper torque values, and replace any fastener that shows sign of stretching, thread damage, or permanent deformation. After tightening all points, run the unit briefly and note whether vibration amplitude drops noticeably. Many vibration issues are fully resolved at this stage without any further work.
Perform alignment verification under operating temperature
Cold alignment checked during shutdown can shift significantly once the unit warms up and all components reach normal operating temperature. Use proper alignment measurement methods while the system runs under stable working conditions, and make small incremental adjustments until the offset and angular difference both fall within acceptable tolerance ranges. This step removes the periodic force pulses that were generating most of the strong vibration load on bearings and seals.
Clean uneven buildup and restore rotating balance
Shut down the unit and carefully inspect all rotating and wetted surfaces for uneven sediment, scale, or slime accumulation. Remove deposits evenly across all surfaces instead of scraping only the most obvious thick spots, so you do not create new mass imbalance after partial cleaning. Once all surfaces are clean, rotate the shaft manually to confirm it turns smoothly without obvious heavy spots or sticking points.
Long-term operational habits to prevent recurring vibration
After you bring vibration back down to acceptable levels, a few simple regular practices will help you avoid repeated abnormal vibration issues and extend the overall service life of the unit.
Log baseline vibration data at fixed intervals
Record vibration amplitude and frequency readings at key points on the motor, gearbox, and main support structure during normal stable operation. Repeat these measurements every two to four weeks, and compare new readings against your original baseline. Small upward shifts in vibration level will warn you of developing looseness, imbalance, or wear long before the problem becomes severe enough to cause operational disruption.
Adjust operating parameters away from critical speed ranges
Every mechanical system has specific speed ranges where natural resonance amplifies even small normal vibration into large structural movement. If your current operating speed falls near one of these critical ranges, make small adjustments to working rotation, airflow rate, or load distribution to shift the system away from resonance. This simple change often reduces overall vibration level dramatically without requiring any part replacement.
Schedule minor inspection during routine process downtime
You do not need full dedicated shutdown windows to keep vibration under control. Use the short process stops that already exist in your normal production cycle to check for loose fasteners, early signs of uneven buildup, and minor seal leakage. Catching these small issues early prevents them from developing into the kind of severe vibration that forces unplanned full-system shutdown later.
Post time:2026-09-13
